You read that title correctly. Homemade *triple* chocolate ice cream! And I made it! I tried this recipe several years ago when I first received my Kitchen Aid Ice Cream Maker. I made this recipe the other evening with Ghirardelli Baking Chocolate. 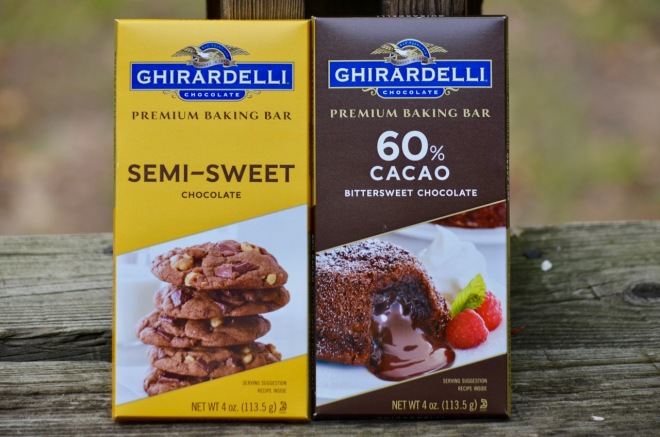 Do you think making your own homemade ice cream is difficult? It depends on how you make it and what tools you have on hand. For me, my stand mixer is handy with its ice cream bowl attachment. There is some preparation ahead of time, such as preparing the ice cream base at least 24 hours in advance so that the ice cream base is nice and cold. You also have to make sure your ice cream bowl for the stand mixer is frozen cold, once again, at least 24 hours or more. Once those two things are square, and you’ve prepped the stand mixer to GO, you just turn it on, pour in the mixture and watch ice cream happen!
According to Foodimentary, tomorrow is National Sundae Day, so this recipe comes in some good time to prep some ice cream for Saturday!
Please note that this recipe does require a stand mixer with ice cream bowl attachment. Also take note that below is the actual recipe from Kitchen Aid, the only change from my recipe is that the store was out of unsweetened baking chocolate, but I used bittersweet baking chocolate instead.
A word of note from someone who has made the base of the ice cream before: If you can plan ahead and try to use large glass measuring cups when heating up the items over the stove, the easier it will be to transfer from bowl to stove, and so on. For example, I used a small sauce pan for heating water and my glass measuring cup – in essence, a double boiler. At the very end of all the preparation, I saved the remaining 1 1/2 cups of whipping cream, vanilla and salt in a large mason jar. When I was done mixing all the components in the middle part of the recipe, I just placed all the remaining liquid in the mason jar and mixed from there. It’s also easy storage in the refrigerator and it will be easier to pour the cold mixture into the frozen ice cream bowl mixer. There is a lot of action going on: heating, reheating, and mixing of heated portions. If you can make your life more simple by preparing in advance to avoid spillage and for ease of transferring portions from bowl(s) to pan(s), it would be worth your while, but not necessary to do. I thought I would share this handy hint as I have found myself spilling liquid portions because of carelessness along the way!
And I have a little added bonus today for you as well! I took some video of the ice cream bowl attachment in action for you all to see! I will admit, it’s just under two minutes, and it does get a tad boring, but you can see the gradual thickening of the ice cream as it churns away in the ice cream bowl attachment.
As this wonderful gourmet journey continues, I hope to continue on with more videos and fun stuff!
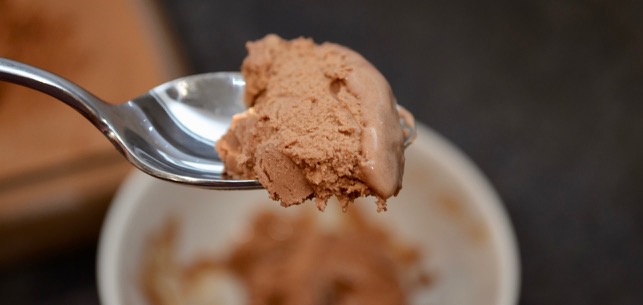
But back to the ice cream… we had the ice cream bowl attachment going for about 15-20 minutes and then scooped the ice cream in a glass container and put it in the freezer overnight. My boys were able to have a small scoop from the ice cream maker itself, but it seems to need an extra blast of freeze in the actual freezer. The flavor and smooth texture of the ice cream is so yummy!
Triple Chocolate Ice Cream
Ingredients:
- 2 cups whipping cream, divided
- 2 squares (1 oz. [30 g] each) semi-sweet baking chocolate, cut into chunks
- 2 squares (1 oz. [30 g] each) unsweetened baking chocolate, cut into chunks
- 2 cups half-and-half
- 1 cup sugar
- 1/3 cup unsweetened cocoa powder
- 8 egg yolks
- 4 teaspoons vanilla
- 1/8 teaspoon salt
- 4 bars milk chocolate chopped (about 1 1/2 cups)
Directions:
- In small saucepan, place 1/2 cup whipping cream, semi-sweet chocolate, and unsweetened chocolate. Heat over medium-low heat until chocolate melts, stirring frequently. Remove from heat; set aside. In medium saucepan over medium heat, heat half-and-half until very hot but not boiling, stirring often. Remove from heat; set aside.
- In small bowl, combine sugar and cocoa powder. Set aside. Place egg yolks in mixer bowl. Attach bowl and wire whip to mixer. Turn to Speed 2 and gradually add sugar mixture; mix about 30 seconds, or until well blended and slightly thickened. Continuing on Speed 2, very gradually add chocolate mixture and half-and-half; mix until well blended.
- Return half-and-half mixture to medium saucepan; stirring constantly, cook over medium heat until small bubbles form around edge and mixture is steamy. Do not boil. Transfer half-and-half mixture into large bowl; stir in remaining 1 1/2 cups whipping cream, vanilla, and salt. Cover and chill thoroughly, at least 8 hours.
- Assemble and engage freeze bowl, dasher, and drive assembly as directed in attachment instructions. Turn to STIR (Speed 1). Using a container with a spout, pour mixture into freeze bowl. Continue on STIR (Speed 1) for 10 to 15 minutes or until desired consistency, adding milk chocolate during last 1 to 2 minutes of freeze time. Immediately transfer ice cream into serving dishes, or freeze in an airtight container.
This recipe makes approximately 16 servings.
Check out some of the photos of the process of preparation!
